How to crawl a JavaScript (or React) website with Screaming Frog
If you have ever tried to crawl a website with Screaming Frog SEO Spider and the app returns just a single URL, chances are that you’ve tried to crawl a website that uses a front-end JS library to render the content of its pages.
Many modern websites use JS frameworks such as React as their front-end.
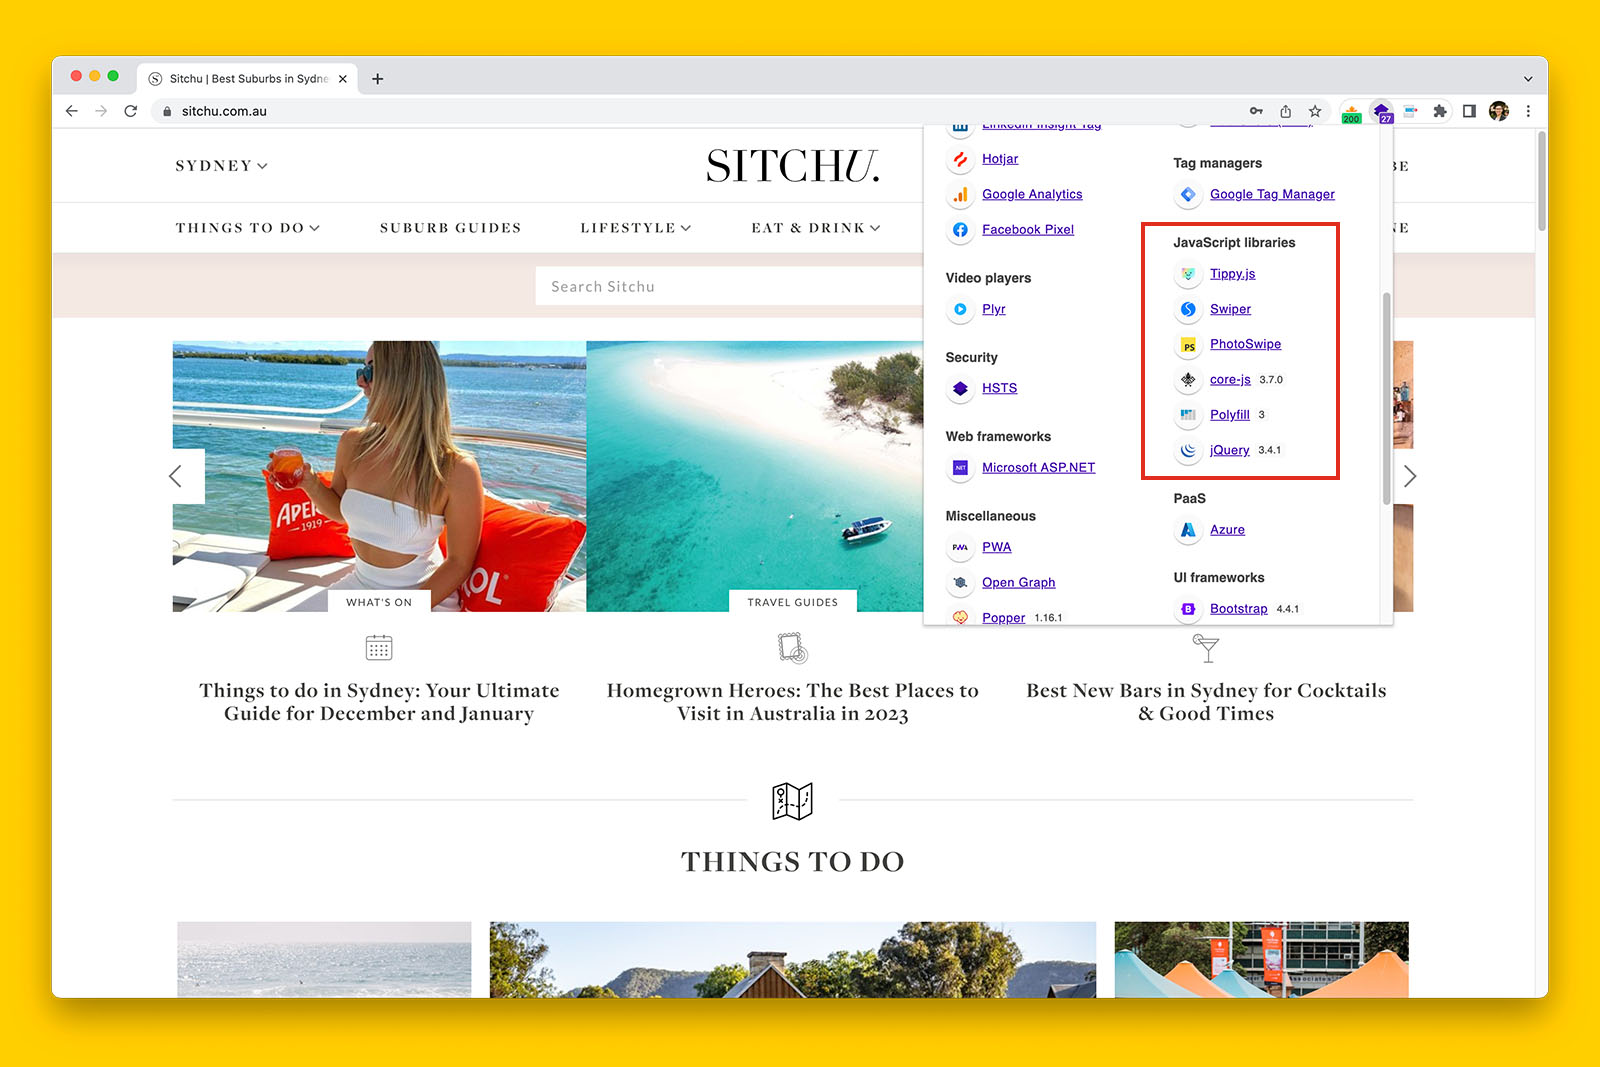
You can usually identify if a website uses browser rendering by using the free Technology profiler Chrome extension by Wappalyzer.
Crawling such websites in Screaming Frog is a little bit different and in this article, I’m going to guide you on how to crawl JS websites.
Specifically, you’re going to learn how to:
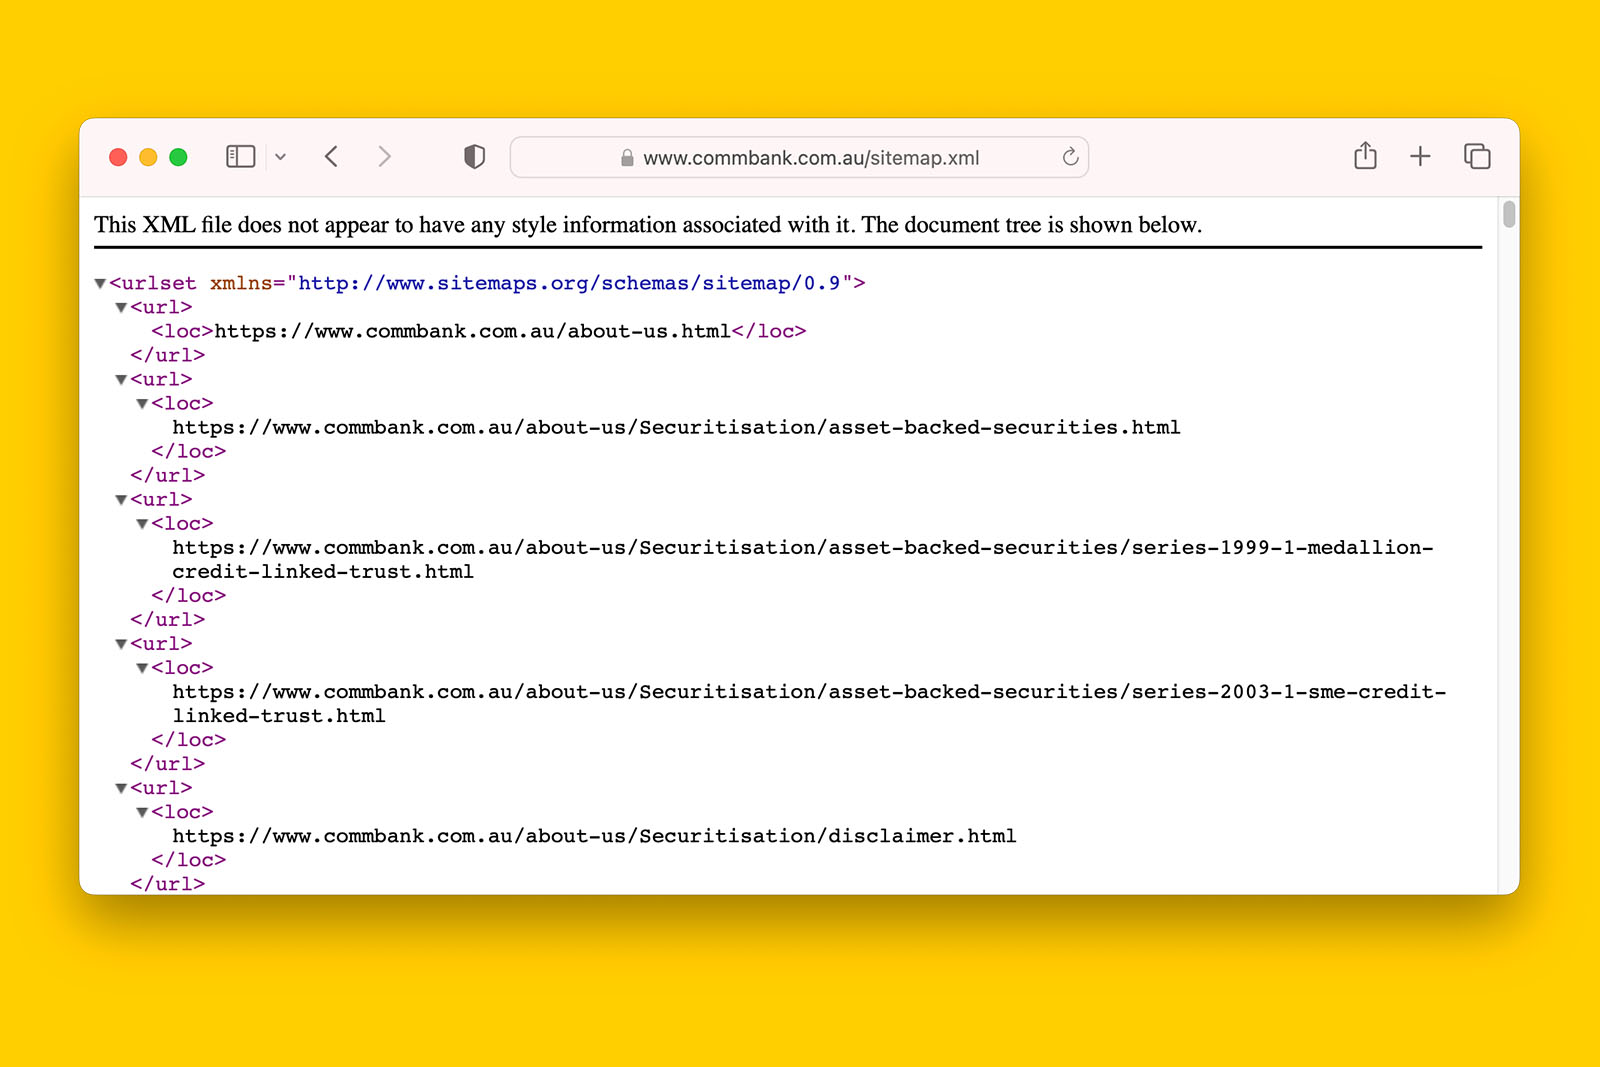
- crawl a website by supplying Screaming Frog with a sitemap (and why)
- crawl a website without supplying Screaming Frog a sitemap (and why)
How to crawl a JS website with a sitemap
When you supply a web crawler with a sitemap, it can crawl more URLs because you have effectively given it a list of every URL it should inspect.
However, this assumes that the sitemap is following SEO best practices.
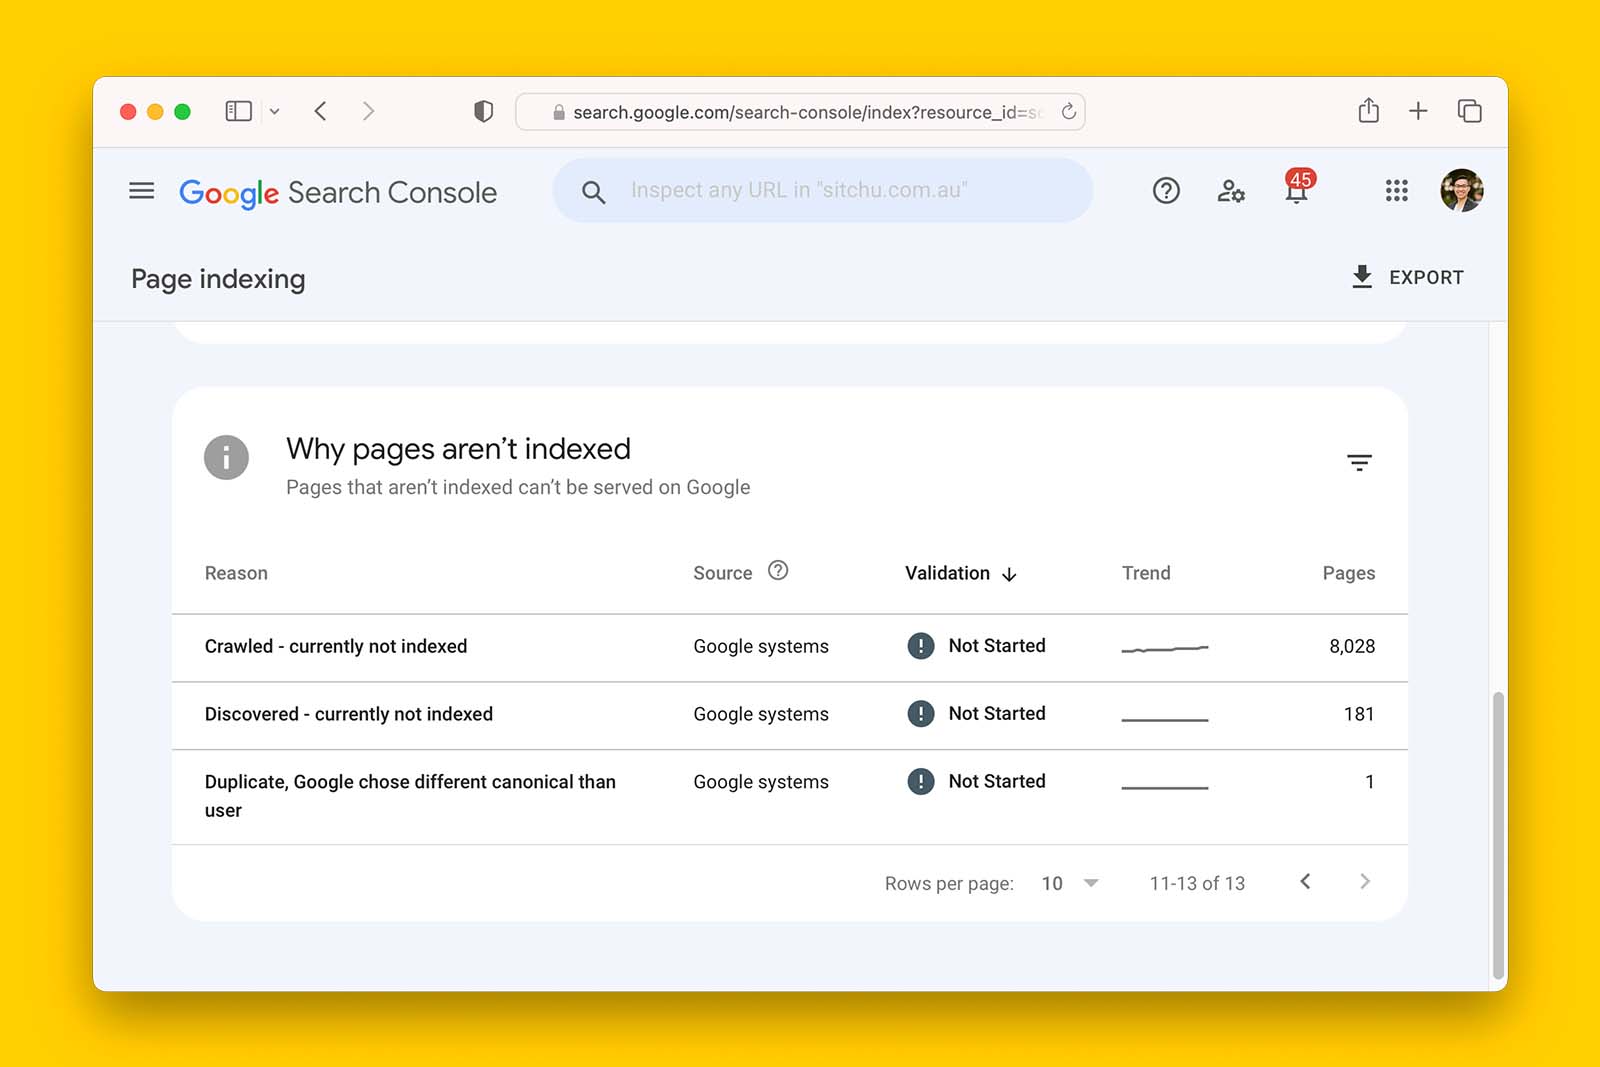
The reason why you want to feed Screaming Frog a sitemap is to understand how the sitemap has been configured. For example, using this method, you can see if the sitemap contains a high percentage of non-indexable URLs. And if this is the case, you can probably assume that the website has many more technical SEO issues.
Essentially. you’ll want to use this method so that you can extract a comprehensive list of issues and the URLs they occur.
If, however, you want to see if Google has difficulty rendering content and internal links, I recommend you to crawl without giving Screaming Frog a sitemap.
Let’s get started.
i. Clear the existing configuration
Doing this will remove any existing setting that may cause the crawl to fail.
To do this:
- Go to File (in the top menu)
- Hover over Configuration
- Click on ‘Clear Default Configuration’
ii. Ensure all ‘Resource Links’ are enabled in the Spider Configuration panel
To do this:
- Go to Configuration (in the top navigation menu)
- Click on Spider
- If the checkboxes for Images, CSS, JavaScript or SWF are not ticked, tick them
- Do not click OK yet as you’ll be using the same panel in the next step.

iii. Supply Screaming Frog with the location of one or more sitemaps
By default, Screaming Frog does not crawl sitemaps. You have to enable this function manually in the Spider Configuration > Crawl panel.
To do this:
- Following on from the previous instructions, scroll down to find the XML Sitemaps section
- Check ‘Crawl Linked XM Sitemaps’ then check ‘Crawl These Sitemaps:’
- You can now paste in the full URL of the sitemap(s)
- Don’t click OK yet because you’re going to change the rendering mode next.
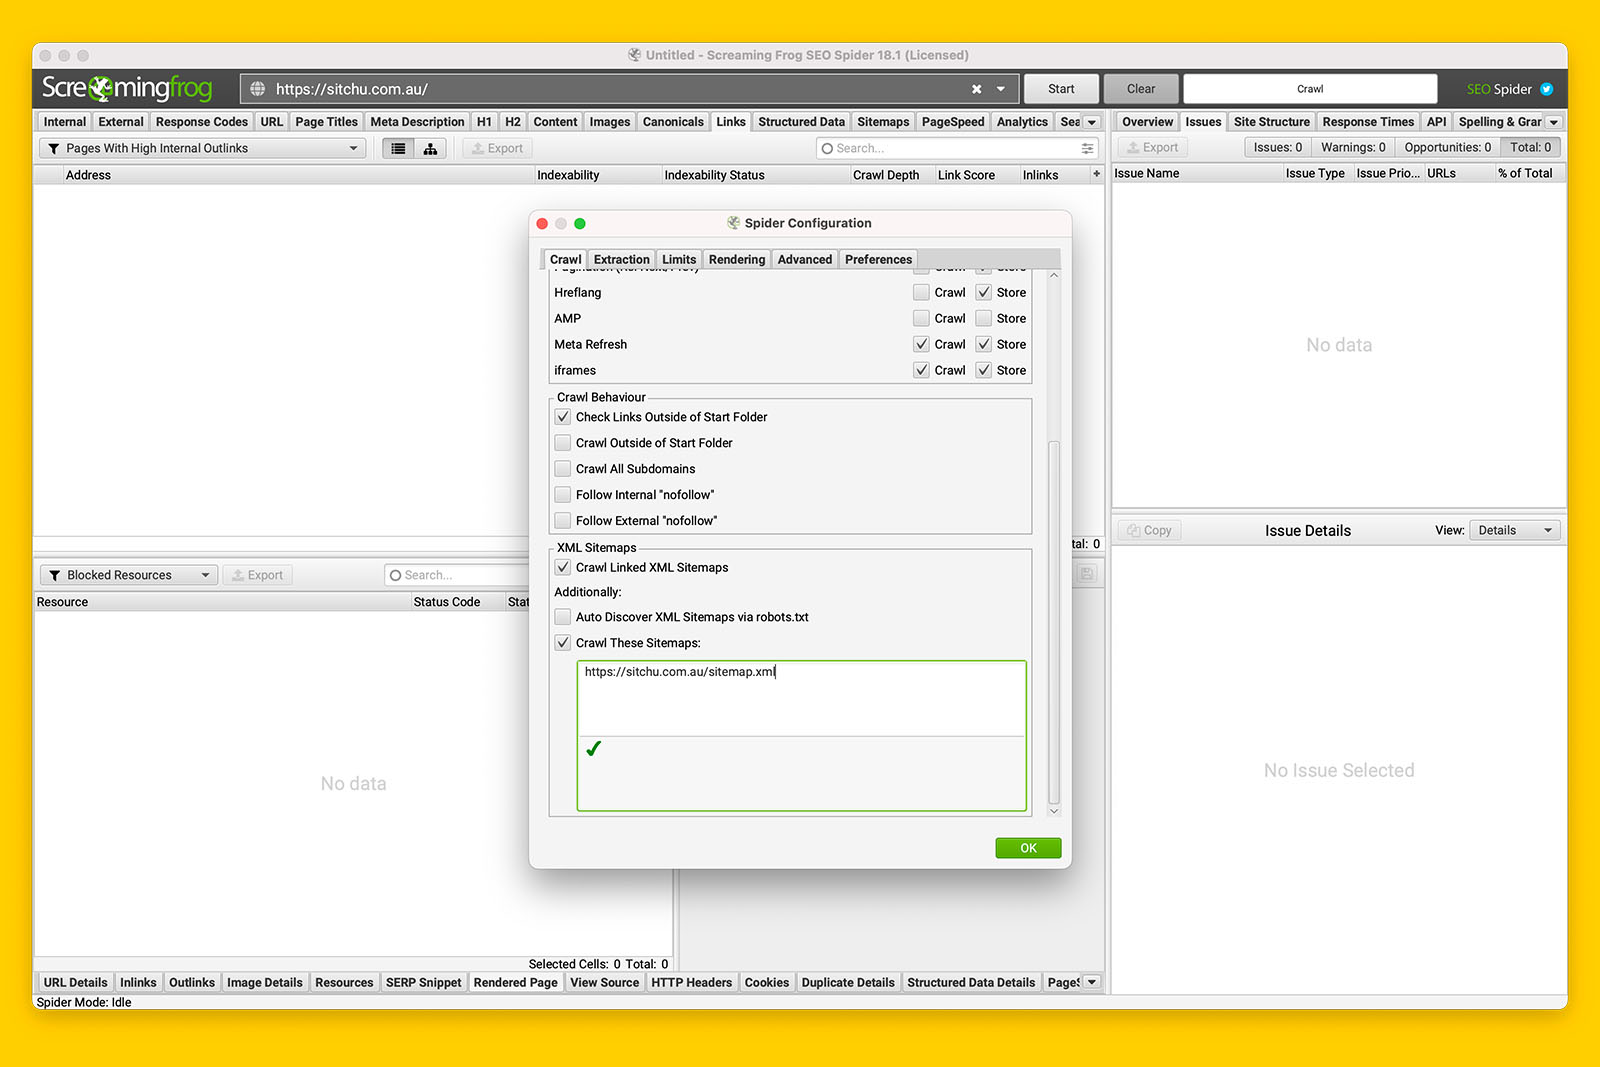
FYI, you can check ‘Auto Discover XML Sitemaps via robots.txt’ if you wish. But this will only work if the XML sitemap is referenced in the website’s robots.txt file.
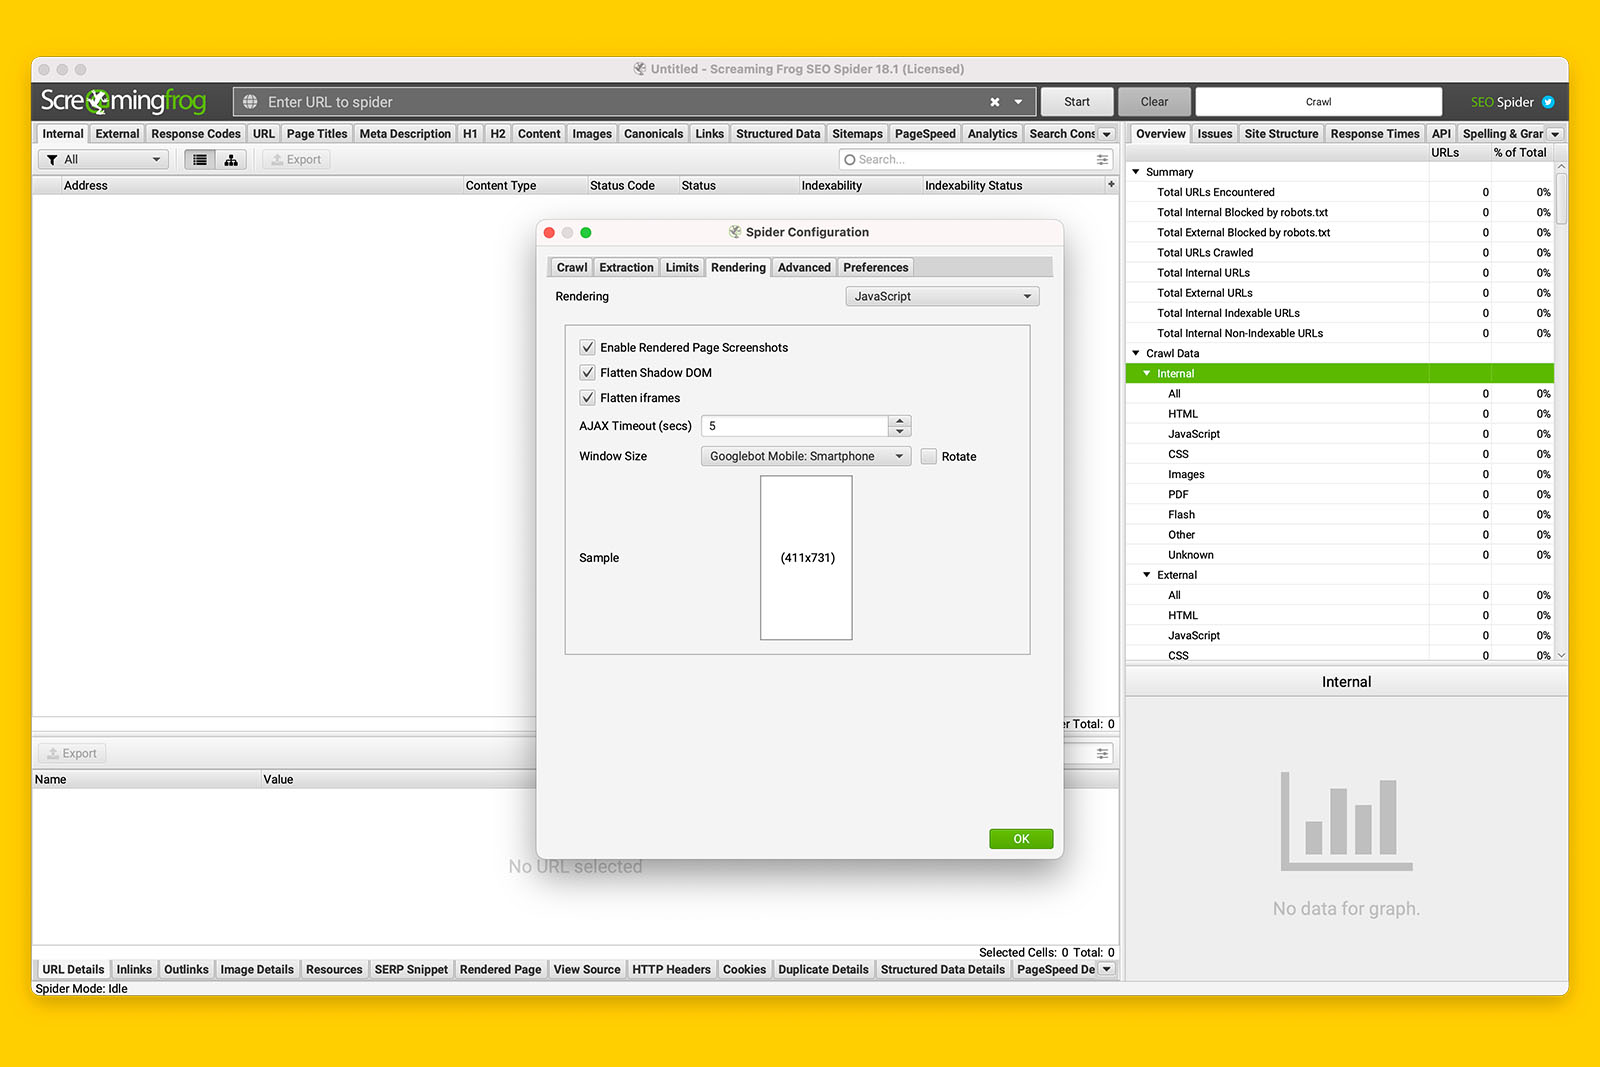
iv. Go to the ‘Rendering’ tab in Spider Configuration and toggle Rendering from ‘Text Only’ to ‘JavaScript’
To do this:
- Click on the ‘Rendering’ tab
- Change the toggle to ‘JavaScript’
- Leave the rest of the settings as if (e.g., AJAX Timeout can remain as 5 seconds)
- Click OK
v. Put in the starting URL you wish to crawl and click ‘Start’
Now you wait for the crawl the finish.
Depending on the size of the website, JS rendering mode will take significantly longer than text-only.
Because you enabled images, CSS, JavaScript and SWF to be crawled, don’t be surprised when you see a lot of weird URIs showing up as the crawl progresses. This is because Screaming Frog defaults to showing you all the internal URLs it has discovered.
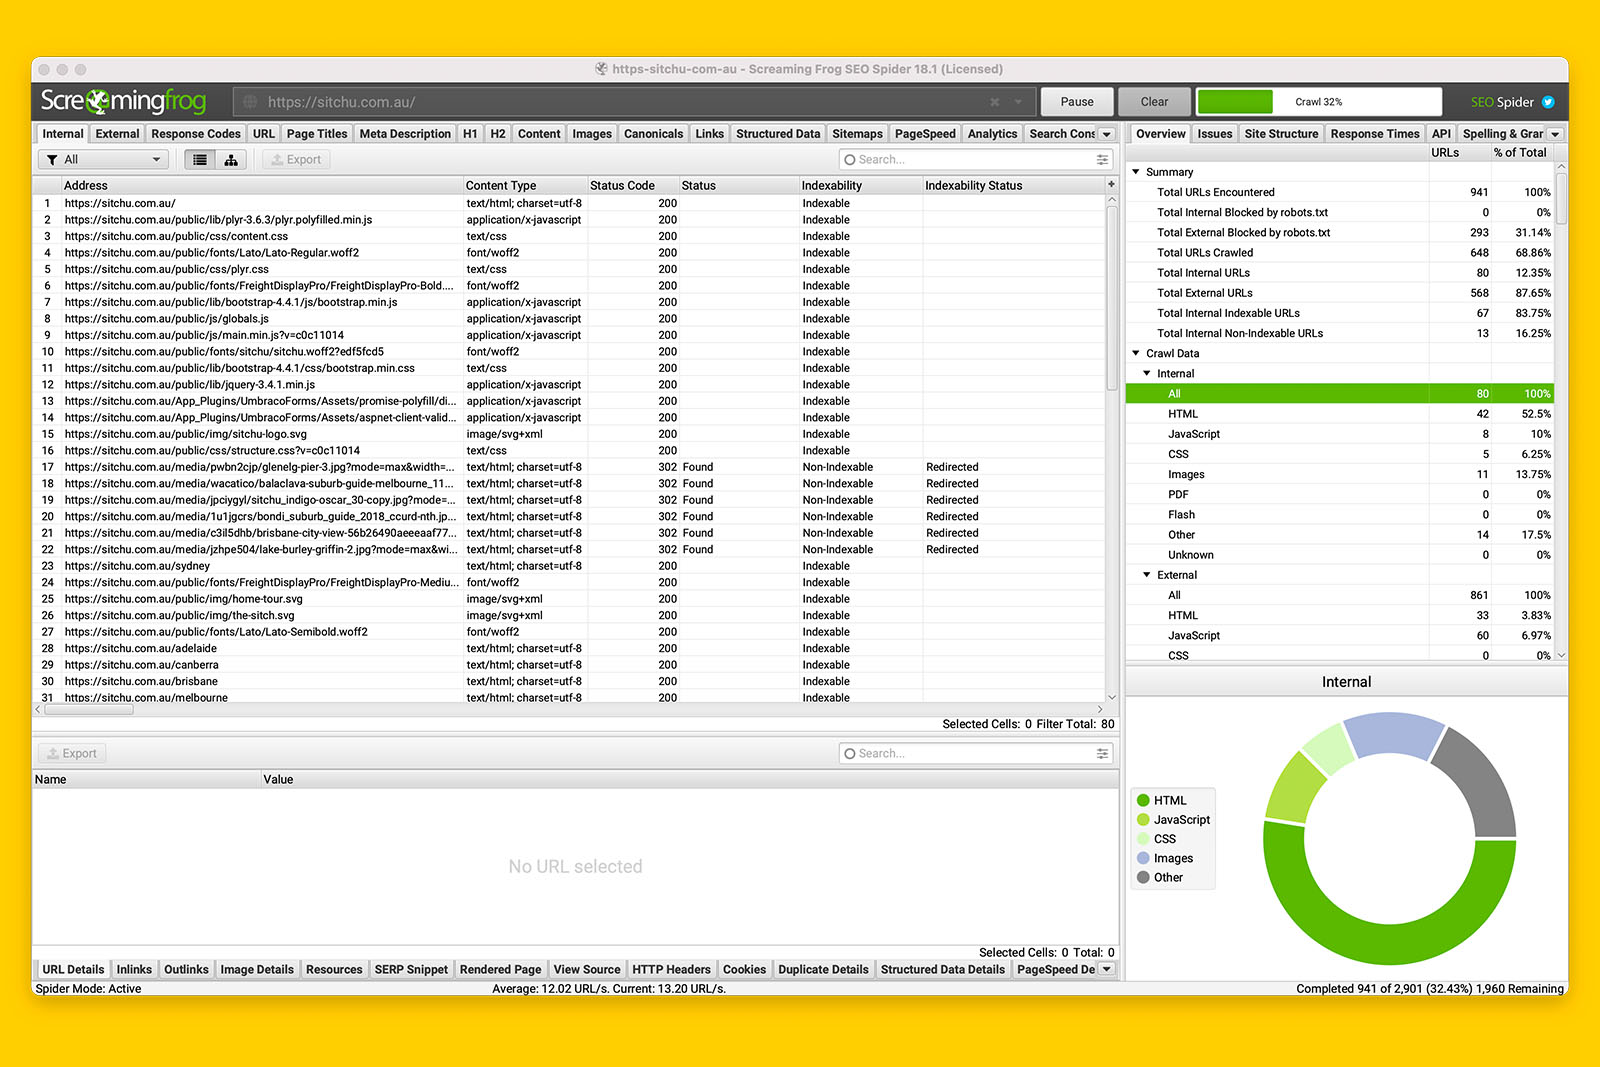
You can filter the view to only HTML by toggling ‘All’ to ‘HTML’.
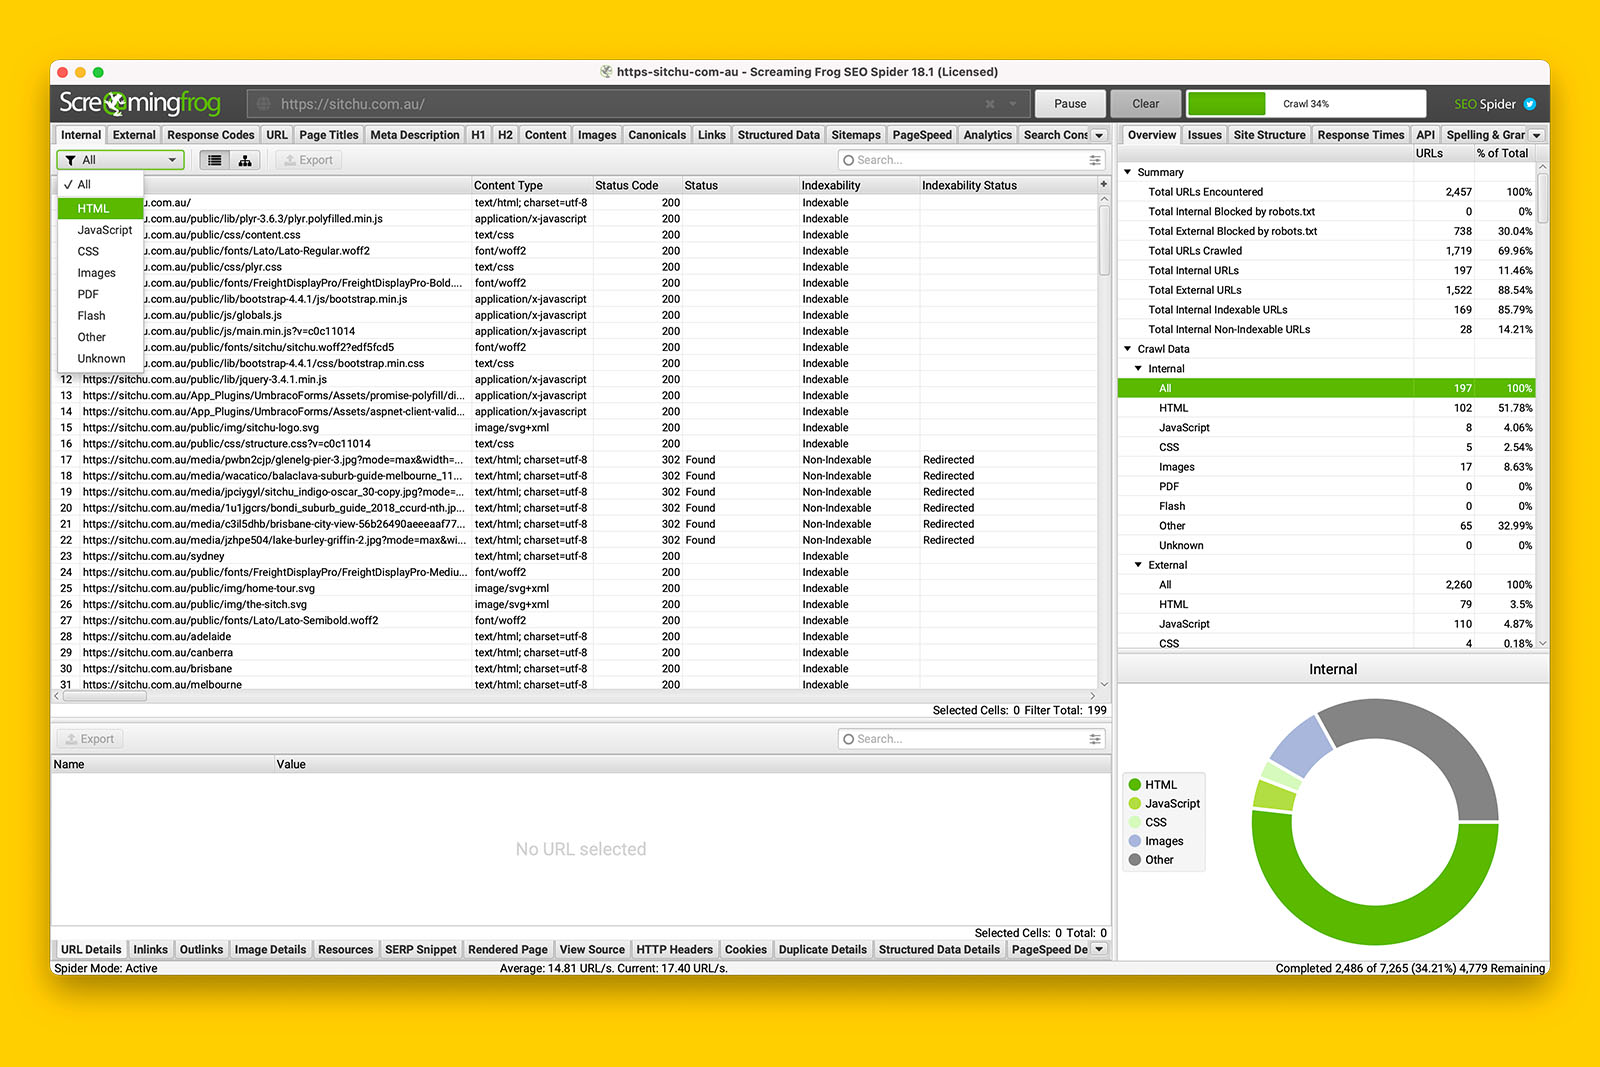
Now you can see the individual pages of the website and you can use the tabs in the bottom menu to inspect each URL.
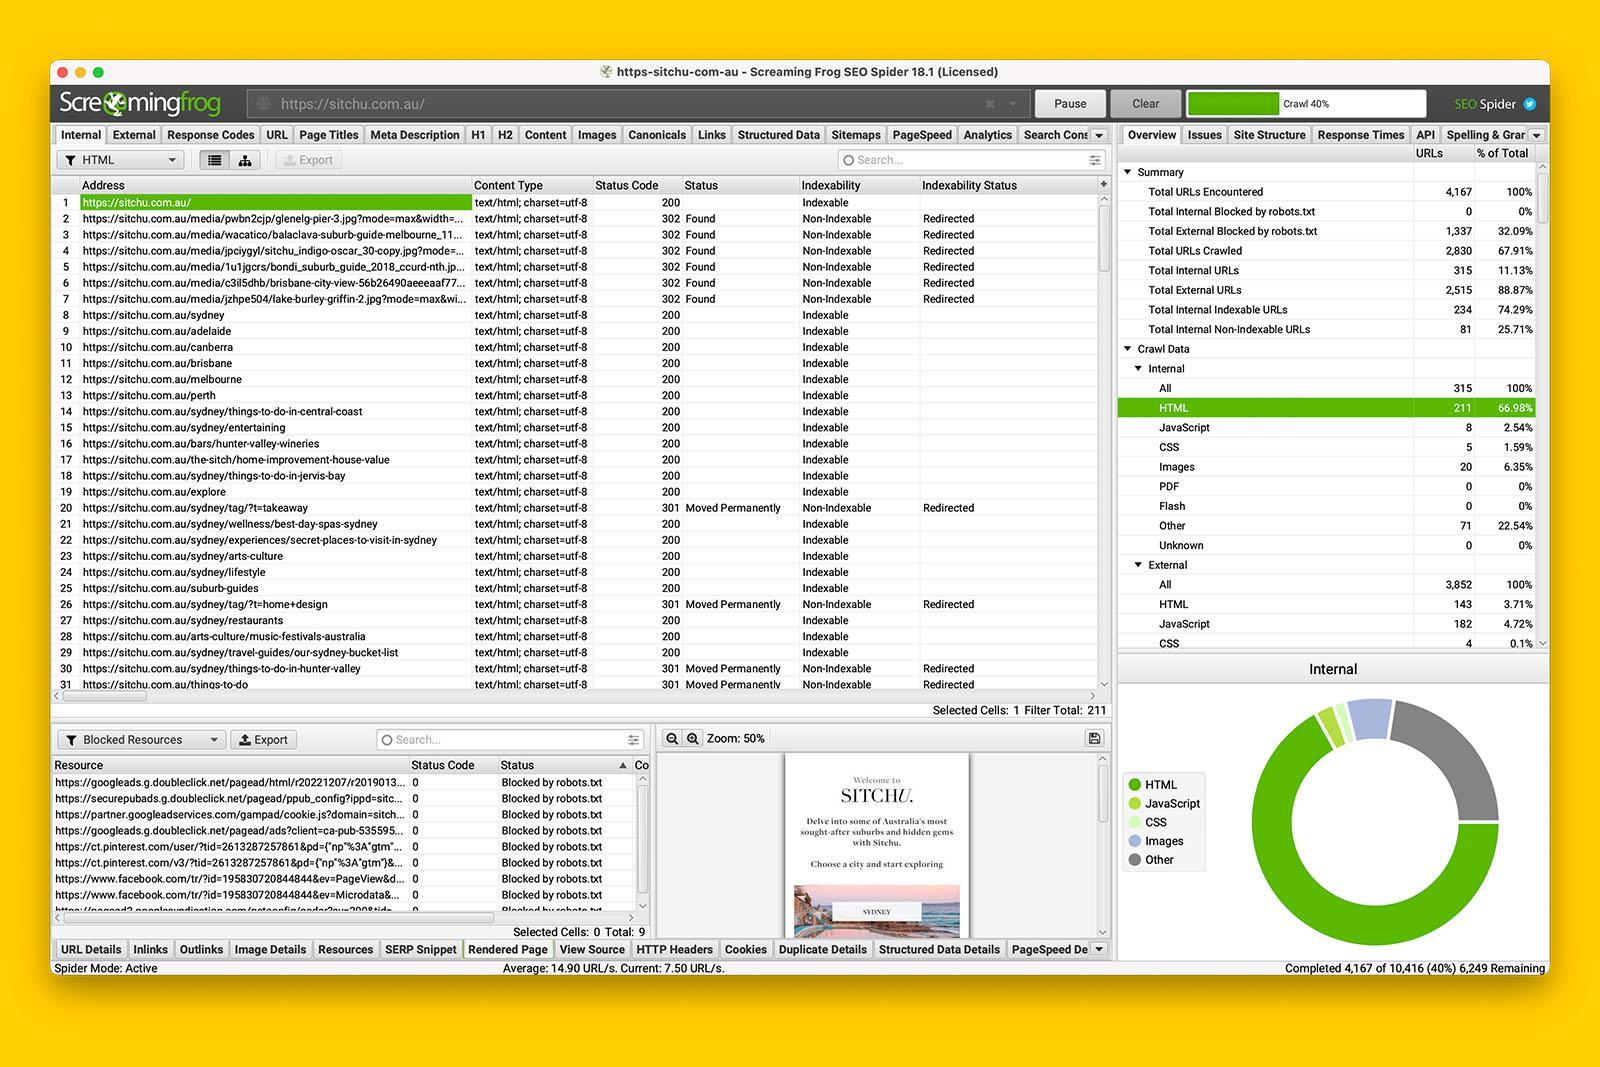
Once the crawl is complete (or you have crawled a large enough sample), you can look at the issues that the app has found, or look at individual URLs to see if the body content has been rendered by the crawler.
And because Screaming Frog has a list of URLs from the sitemap, it can provide you with insightful data on:
- number of URLs in sitemap
- number of crawled URLs found in the sitemap
- number of orphan pages
- number of non-indexable URLs in the sitemap
- number of URLs found in more than one sitemap
To do this, find ‘Crawl Analysis’ in the top navigation menu and click on ‘Start’. It will take only a few seconds for Screaming Frog to parse the data and you will find the information in the ‘Overview’ tab > ‘Sitemaps’.
How to crawl a JS website without a sitemap
Nobody truly knows how Googlebot renders JS content.
We know Google can render JavaScript (source).
We also know rendering JS takes more resources and time. And when you multiply computing resources with time, this costs Google a lot of money to crawl the internet.
Therefore, if you are working on a website that relies on client-side rendering and the website is not performing as well as it should in organic search, it makes sense to understand if important content is being missed because the front-end relies too heavily on JS frameworks.
This is why you should crawl a React website with JavaScript rendering in Screaming Frog without the help of a sitemap.
In doing so, you’re forcing the crawler to render hyperlinks in the navigation menu and in-body content in order to discover internal URLs.
This method will give you the most accurate confirmation of whether or not JavaScript is contributing to your crawling and indexing issues.
Let’s get started.
a. Clear the existing configuration
Doing this will remove any existing setting that may cause the crawl to fail.
To do this:
- Go to File (in the top menu)
- Hover over Configuration
- Click on ‘Clear Default Configuration’
b. Ensure all ‘Resource Links’ are enabled in the Spider Configuration panel
To do this:
- Go to Configuration (in the top navigation menu)
- Click on Spider
- If the checkboxes for Images, CSS, JavaScript or SWF are not ticked, tick them
- Do not click OK yet as you’ll be using the same panel in the next step.
c. Go to the ‘Rendering’ tab in Spider Configuration and toggle Rendering from ‘Text Only’ to ‘JavaScript’
To do this:
- Click on the ‘Rendering’ tab
- Change the toggle to ‘JavaScript’
- Leave the rest of the settings as if (e.g., AJAX Timeout can remain as 5 seconds)
- Click OK
d. Put in the starting URL you wish to crawl and click ‘Start’
Now you wait for the crawl the finish.
Depending on the size of the website, JS rendering mode will take significantly longer than text-only.
Because you enabled images, CSS, JavaScript and SWF to be crawled, don’t be surprised when you see a lot of weird URIs showing up as the crawl progresses. This is because Screaming Frog defaults to showing you all the internal URLs it has discovered.
You can filter the view to only HTML by toggling ‘All’ to ‘HTML’.
Now you can see the individual pages of the website and you can use the tabs in the bottom menu to inspect each URL.
Once the crawl is complete (or you have crawled a large enough sample), you can look at the issues that the app has found, or look at individual URLs to see if the body content has been rendered by the crawler.
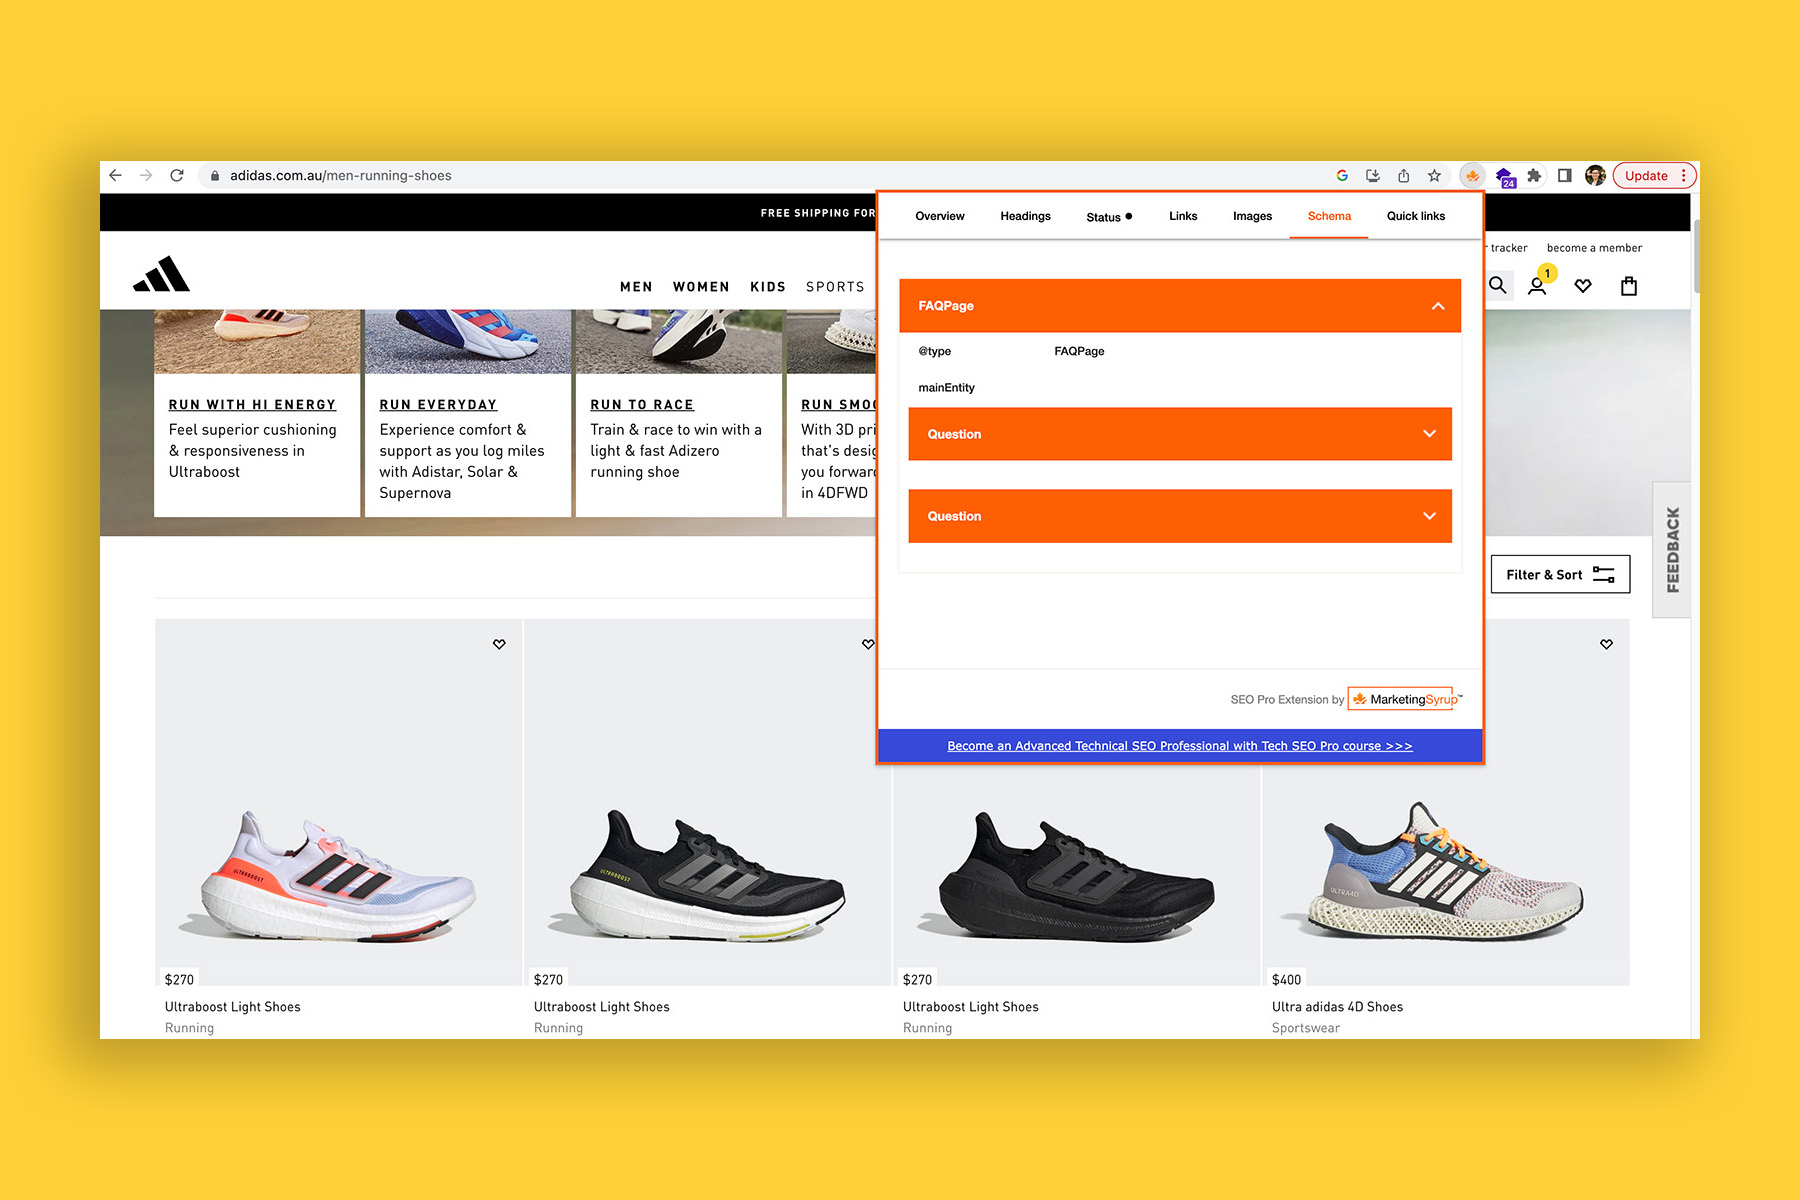
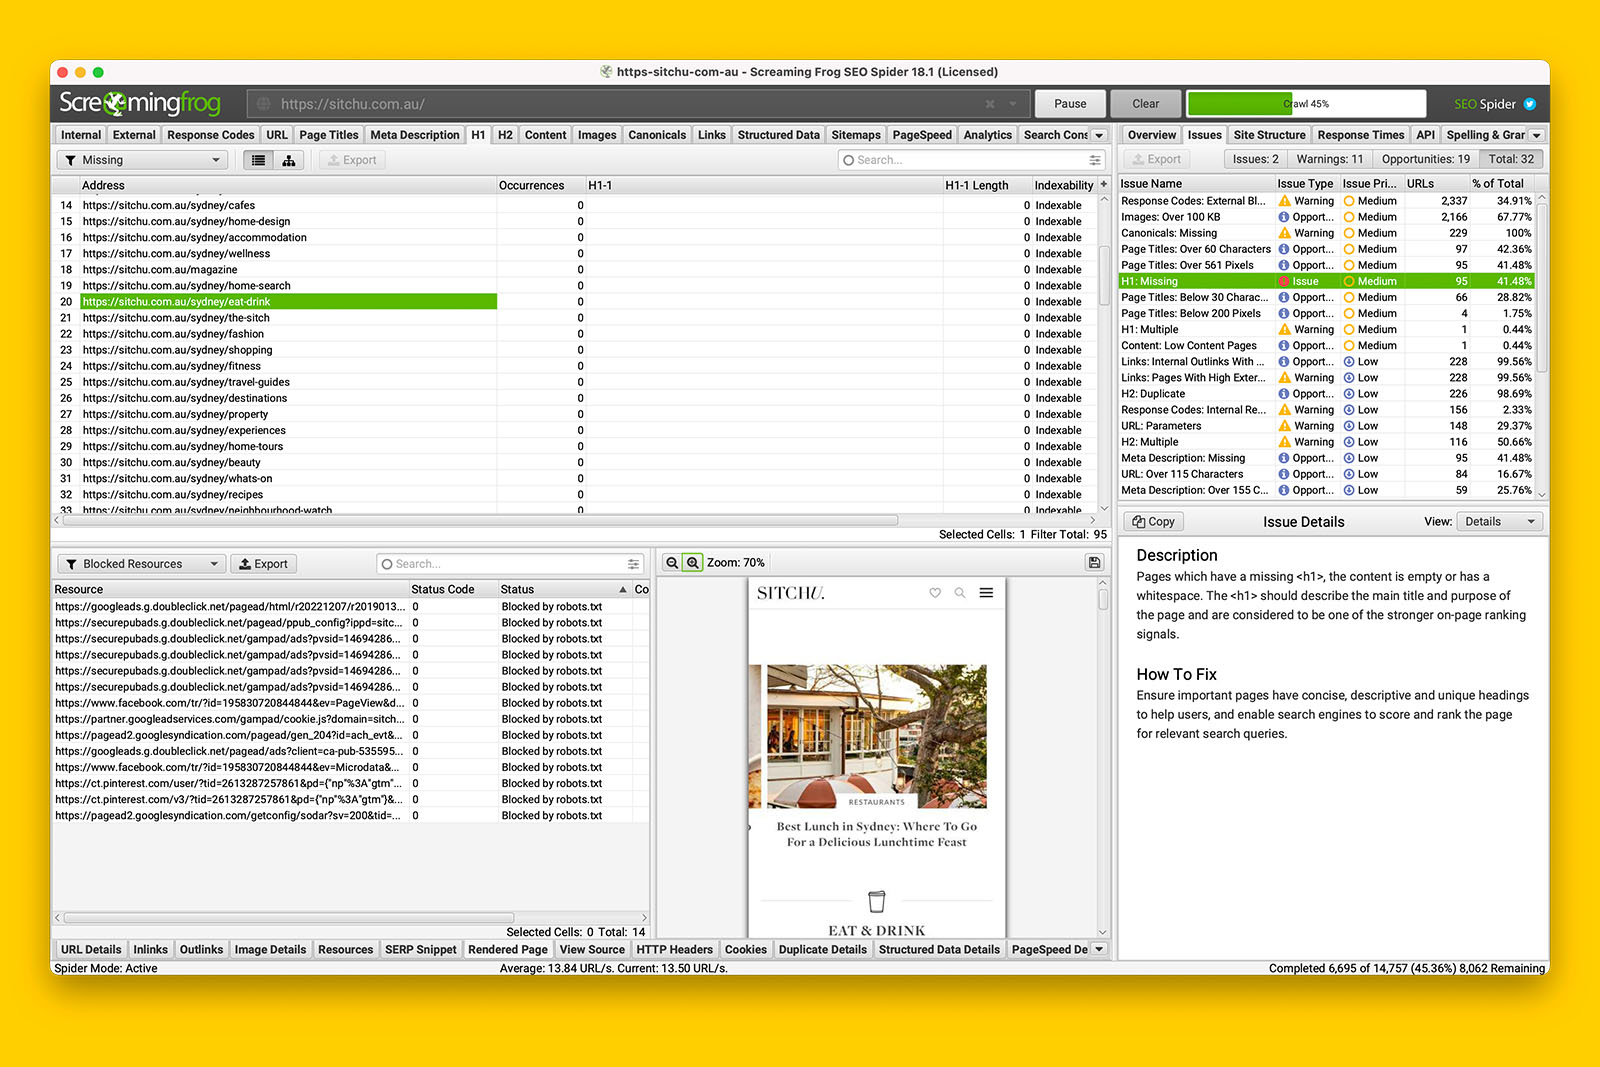
For example, in the following screenshot:
- Screaming Frog has found 108 pages that are missing a <h1> tag
- Looking at the ‘Rendered Page’ tab view, I can see that all of the content is visible
- Looking at the ‘Outlinks’ tab view, I can verify that internal links are rendered
- Looking at the ‘Blocked Resources’ for the same URL, I note that they’re all tracking tags
- Therefore, I can conclude that Google can probably render all the content that is on this website’s pages even when JS rendering is required.
Now that you know how to crawl any type JS website, you can use my technical SEO checklist to audit any website.