How to write JSON-LD code (from start to finish) for maximum semantic SEO gains
Once you’ve wrapped your head around what schema markup and semantic SEO are, the next step as a marketer is to apply connected schema markup on a page-per-page basis across a website.
But before you do, you’ll need to learn some coding, specifically, JSON-LD.
JSON-LD is a coding language that can be used to describe entities. That is, JSON-LD is a syntax that uses vocabulary defined by schema.org.
As such, there are a heap of rules that you need to follow.
📌 By the way, I am not a coder. I don’t even know how to read/write CSS. But over the course of a few hours during December 2022, I decided to stop avoiding the inevitable and embrace JSON-LD.
Now its your turn.
Ready to be enlightened/tortured?
Let’s get started!
How to write JSON-LD for a typical homepage
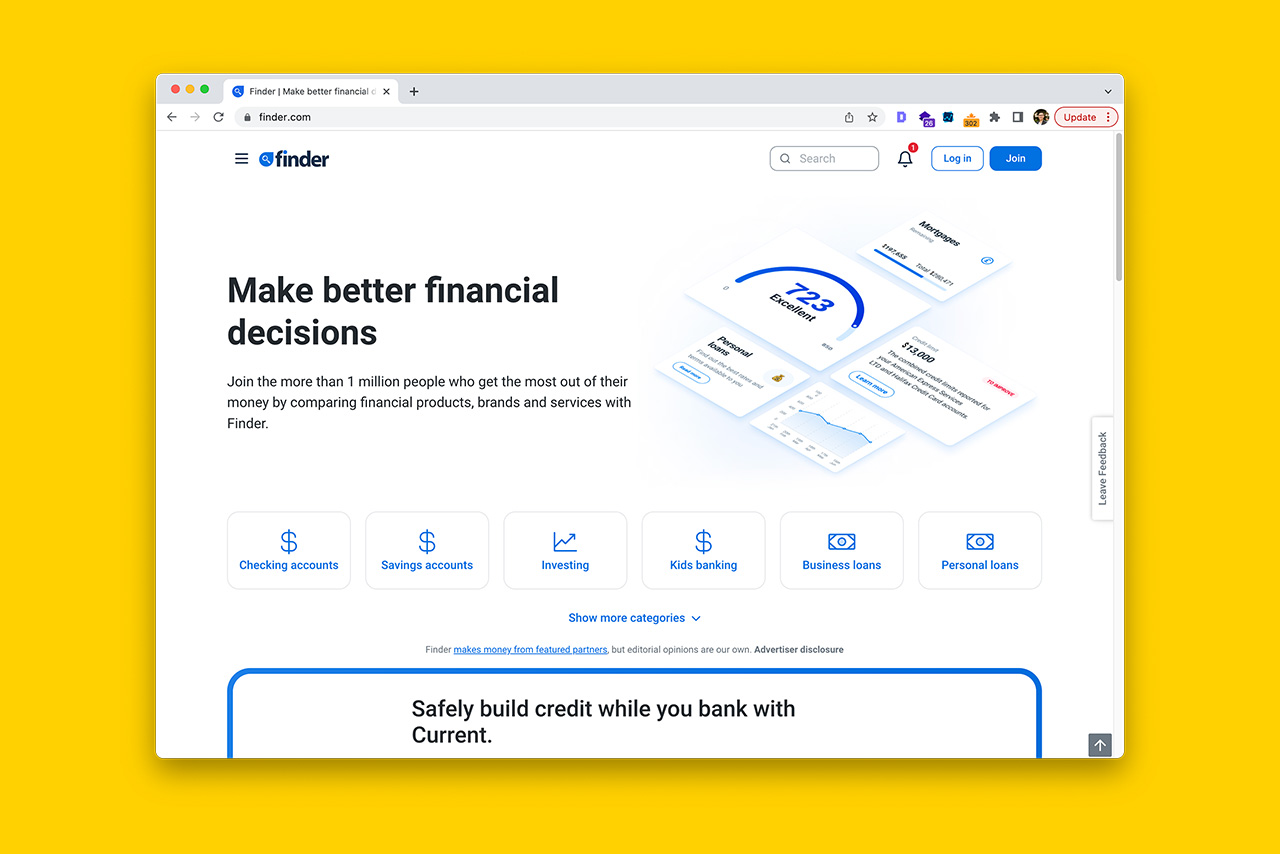
For the purpose of this demonstration, I’m going to use finder.com homepage to show you the step-by-step process of writing descriptive JSON-LD from scratch.
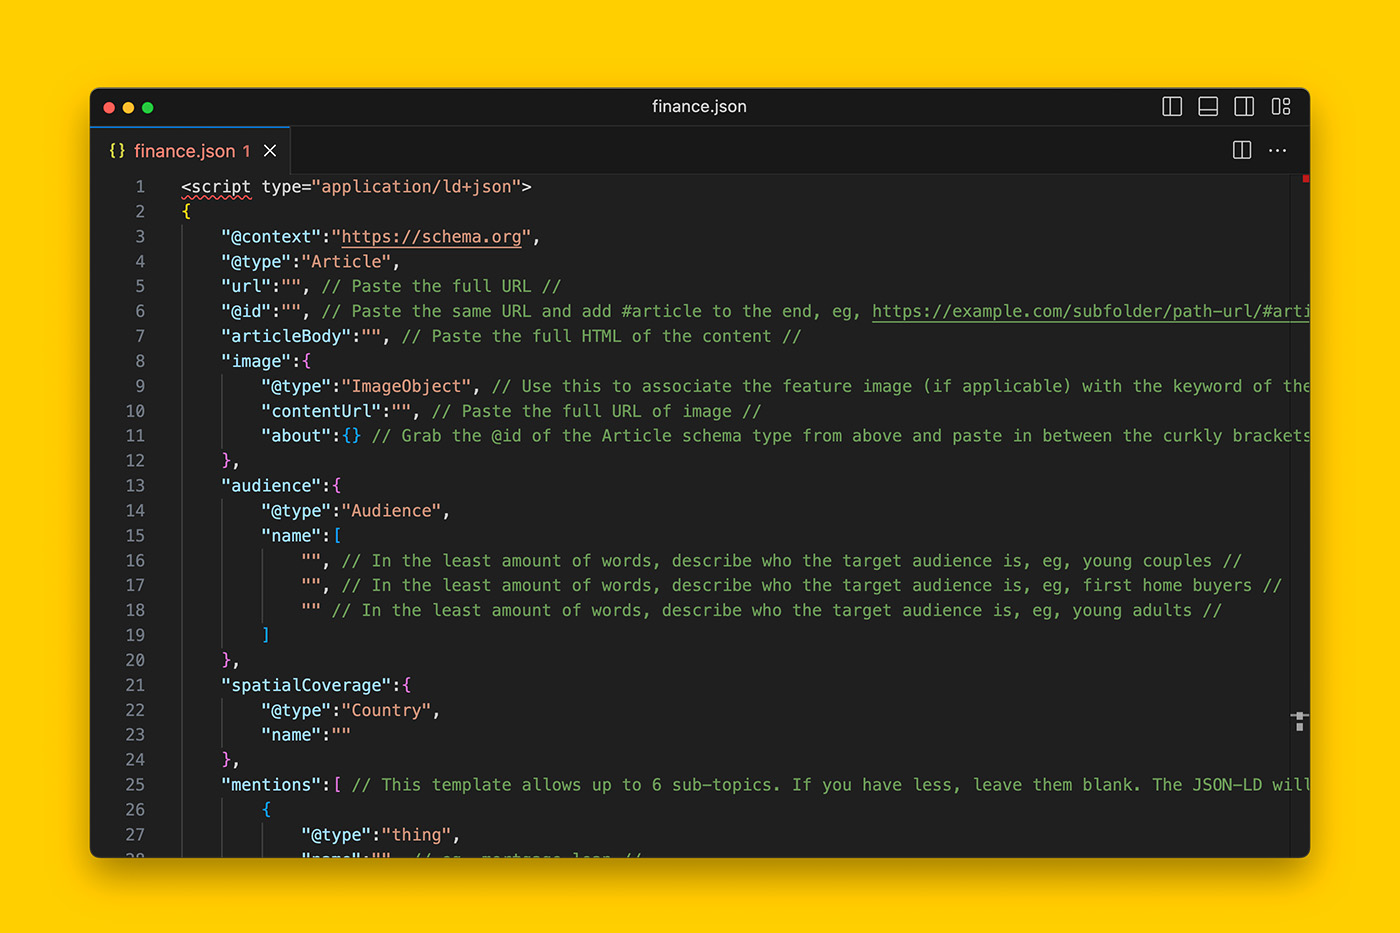
Step 1: Use a code editor such as Visual Studio Code or JSON-LD Playground
A code editor like Visual Studio Code will make your life a lot easier, especially if you’ve never coded before.
For example, the application will automatically add a pair of curly braces or a pair of square brackets when you go to insert the opening bracket. This reduces the chances of missing a missing closing bracket or brace.
Trust me, 8/10 times, you’ll encounter a syntax error because of a missing closing curly brace and if you use Visual Studio Code to write your JSON-LD, you’ll be less likely to make these errors.
Step 2: Start with a pair of curly brackets/braces
In Visual Studio Code, start a new blank file and begin with a pair of curly brackets/braces.
{

}
Curly braces/brackets are used to wrap objects in JSON-LD and you will be using curly brackets a lot.
In this instance, you are wrapping all the schema with this pair of curly brackets.
Step 3: Write “@context”:”https://schema.org” as the first line of code
This is an essential part of JSON-LD syntax as it tells search engines the JSON-LD code it has discovered describes properties defined by schema.org vocabulary.
{
"@context":"https://schema.org"
}
This line is how Google and Bing know you are marking up structured data.
PS – you only need to declare this context once and it always is the first line of code.
Step 4: Add a comma to the end of “@context”:”https://schema.org”
When machines come across a comma in JSON-LD, it knows that a new value is coming.
As you will be adding another line entry, you need to append a comma to the end of “@context”:”https://schema.org” as shown below.
{
"@context":"https://schema.org",
}
Step 5: Write “@type”:”WebPage” as the second line of code
The homepage of a website is always a webpage, therefore, it makes sense to tell Google that it has come across a WebPage entity.
{
"@context":"https://schema.org",
"@type":"WebPage",
}
And because you will adding more values to describe the WebPage entity, remember to add a comma at the end of the line.
Step 6: Declare the URL of the homepage using “url” item property
The next step is to tell the machine the address of the homepage we are marking up.
{
"@context":"https://schema.org",
"@type":"WebPage",
"url":"https://www.finder.com/",
}
I tend to use the absolute URL to be safe although, in theory, you can use relative URLs.
Before you proceed, remember to add a comma to the end of line 4 because we’re not done yet.
Step 7: Assign the entity with a node identifier
Node identifiers are a tenet of linked structured data.
While not always necessary, I would like you to make this a practice for all entities as it will let you connect one entity with another with relative ease.
This is what a typical JSON-LD node identifier looks like where the full URL is provided appended with a string of text that starts with a hash-bang fragment (#).
"@id":"https://www.danielcheung.com.au/about/"A node identify can also be expressed as a relative URL, with or without a trailing slash.
"@id":"#person"More recently, I’ve begun expressing node identifiers as the URL itself. That is, without the hash-bang fragment.
"@id":"https://www.danielcheung.com.au/about/"To assign an entity with a node identifier, copy the previous line, paste it in a new line, then replace “url” with “@id” like so:
{
"@context":"https://schema.org",
"@type":"WebPage",
"url":"https://www.finder.com/",
"@id":"https://www.finder.com/",
}
Add a comma to the end of line 5.
Step 8 (optional): Declare the page title of the homepage with the “name” item property
{
"@context":"https://schema.org",
"@type":"WebPage",
"url":"https://www.finder.com/",
"@id":"https://www.finder.com/",
"name":"Finder | Make better financial decisions",
}
I’ve marked this as an optional step because it this item property doesn’t help search engines because they can get this information from the page’s HTML. However for website with a JavaScript front end that does not serve rendered HTML efficiently, this may give crawlers a stronger hint as to what the page is.
Add a comma to the end of line 6.
Step 9 (optional): Provide a description of the homepage using the “description” item property
Copy the meta description of the homepage and paste it here as shown:
{
"@context":"https://schema.org",
"@type":"WebPage",
"url":"https://www.finder.com/",
"@id":"https://www.finder.com/",
"name":"Finder | Make better financial decisions",
"description":"Compare credit cards, mortgages, money transfers, personal loans, small business loans, and other financial tools and products.",
}
I’ve marked this as an optional step because this offers zero value to the search engine.
Add a comma to the end of line 7.
Step 10: Connect the homepage entity to WebSite entity using the “isPartOf” property
Next you are going to make a direct relationship between the homepage and the broader website.
To do this, you will need to use the isPartOf item property to connect WebPage with WebSite.
{
"@context":"https://schema.org",
"@type":"WebPage",
"url":"https://www.finder.com/",
"@id":"https://www.finder.com/",
"name":"Finder | Make better financial decisions",
"description":"Compare credit cards, mortgages, money transfers, personal loans, small business loans, and other financial tools and products.",
"isPartOf":
}
Now you are going to nest WebPage as part of WebSite by adding another set of curly braces within the first one as shown below:
{
"@context":"https://schema.org",
"@type":"WebPage",
"url":"https://www.finder.com/",
"@id":"https://www.finder.com/",
"name":"Finder | Make better financial decisions",
"description":"Compare credit cards, mortgages, money transfers, personal loans, small business loans, and other financial tools and products.",
"isPartOf":{
"@type":"WebSite",
}
}
That is, you are declaring another object (WebSite) within the original object (all the schema).
Notice how there is no comma after the curly braces that wrap the WebSite entity.
Step 11: Declare the name and URL of the website
{
"@context":"https://schema.org",
"@type":"WebPage",
"url":"https://www.finder.com/",
"@id":"https://www.finder.com/",
"name":"Finder | Make better financial decisions",
"description":"Compare credit cards, mortgages, money transfers, personal loans, small business loans, and other financial tools and products.",
"isPartOf":{
"@type":"WebSite",
"name":"finder.com",
"url":"https://www.finder.com/",
}
}
Google uses the name item property for WebSite to populate a website’s site name in the SERPs and this is why you should use the name property.
Remember to add a comma for name and url key-value pairs.
Step 12: Add a new line then use the “publisher” item property to connect WebSite to Organization
Similar to step 10, you are now going to provide Google with further context. That is, you’re going to disclose the entity behind the website.
{
"@context":"https://schema.org",
"@type":"WebPage",
"url":"https://www.finder.com/",
"@id":"https://www.finder.com/",
"name":"Finder | Make better financial decisions",
"description":"Compare credit cards, mortgages, money transfers, personal loans, small business loans, and other financial tools and products.",
"isPartOf":{
"@type":"WebSite",
"name":"finder.com",
"url":"https://www.finder.com/",
"publisher":
}
}
And just as you did in step 10, you’re going to add another set of curly braces so that you can declare another object.
In this instance, you will be connecting WebSite Type to Organization Type.
{
"@context":"https://schema.org",
"@type":"WebPage",
"url":"https://www.finder.com/",
"@id":"https://www.finder.com/",
"name":"Finder | Make better financial decisions",
"description":"Compare credit cards, mortgages, money transfers, personal loans, small business loans, and other financial tools and products.",
"isPartOf":{
"@type":"WebSite",
"name":"finder.com",
"url":"https://www.finder.com/",
"publisher":{
"@type":"Organization",
}
}
}
Step 13: Declare the name of the organization
{
"@context":"https://schema.org",
"@type":"WebPage",
"url":"https://www.finder.com/",
"@id":"https://www.finder.com/",
"name":"Finder | Make better financial decisions",
"description":"Compare credit cards, mortgages, money transfers, personal loans, small business loans, and other financial tools and products.",
"isPartOf":{
"@type":"WebSite",
"name":"finder.com",
"url":"https://www.finder.com/",
"publisher":{
"@type":"Organization",
"name":"Finder®",
}
}
}
Then add a comma to the end of the key-value pair because there is one last item property you will use to describe the Organization.
Step 14: Use the “sameAs” property to reference citations that validate the organization’s identity
Next, you’re going to help search engines validate the identity of the organization.
To do so, you will add “sameAs” in a new line.
{
"@context":"https://schema.org",
"@type":"WebPage",
"url":"https://www.finder.com/",
"@id":"https://www.finder.com/",
"name":"Finder | Make better financial decisions",
"description":"Compare credit cards, mortgages, money transfers, personal loans, small business loans, and other financial tools and products.",
"isPartOf":{
"@type":"WebSite",
"name":"finder.com",
"url":"https://www.finder.com/",
"publisher":{
"@type":"Organization",
"name":"Finder®",
"sameAs":
}
}
}
After which, you’re going to add a pair of square brackets.
{
"@context":"https://schema.org",
"@type":"WebPage",
"url":"https://www.finder.com/",
"@id":"https://www.finder.com/",
"name":"Finder | Make better financial decisions",
"description":"Compare credit cards, mortgages, money transfers, personal loans, small business loans, and other financial tools and products.",
"isPartOf":{
"@type":"WebSite",
"name":"finder.com",
"url":"https://www.finder.com/",
"publisher":{
"@type":"Organization",
"name":"Finder®",
"sameAs":[

]
}
}
}
This will be the first time you use the square brackets. In JSON-LD, square brackets are used to wrap more than one object as a value.
In between the square brackets, copy and paste the full URL of social media profile that corresponds with the Organization.
These typically include citations from Twitter, Facebook, YouTube, LinkedIn, and Crunchbase.
{
"@context":"https://schema.org",
"@type":"WebPage",
"url":"https://www.finder.com/",
"@id":"https://www.finder.com/",
"name":"Finder | Make better financial decisions",
"description":"Compare credit cards, mortgages, money transfers, personal loans, small business loans, and other financial tools and products.",
"isPartOf":{
"@type":"WebSite",
"name":"finder.com",
"url":"https://www.finder.com/",
"publisher":{
"@type":"Organization",
"name":"Finder®",
"sameAs":[
"https://www.facebook.com/finder",
"https://www.linkedin.com/company/finder/",
"https://twitter.com/finder"
]
}
}
}
Each citation can be entered on a new line but be sure to remember to add a comma at the end of each line except for the last one.
That is, if you’re referencing two social medial profile URLs, a comma is needed after the first profile but not the second one.
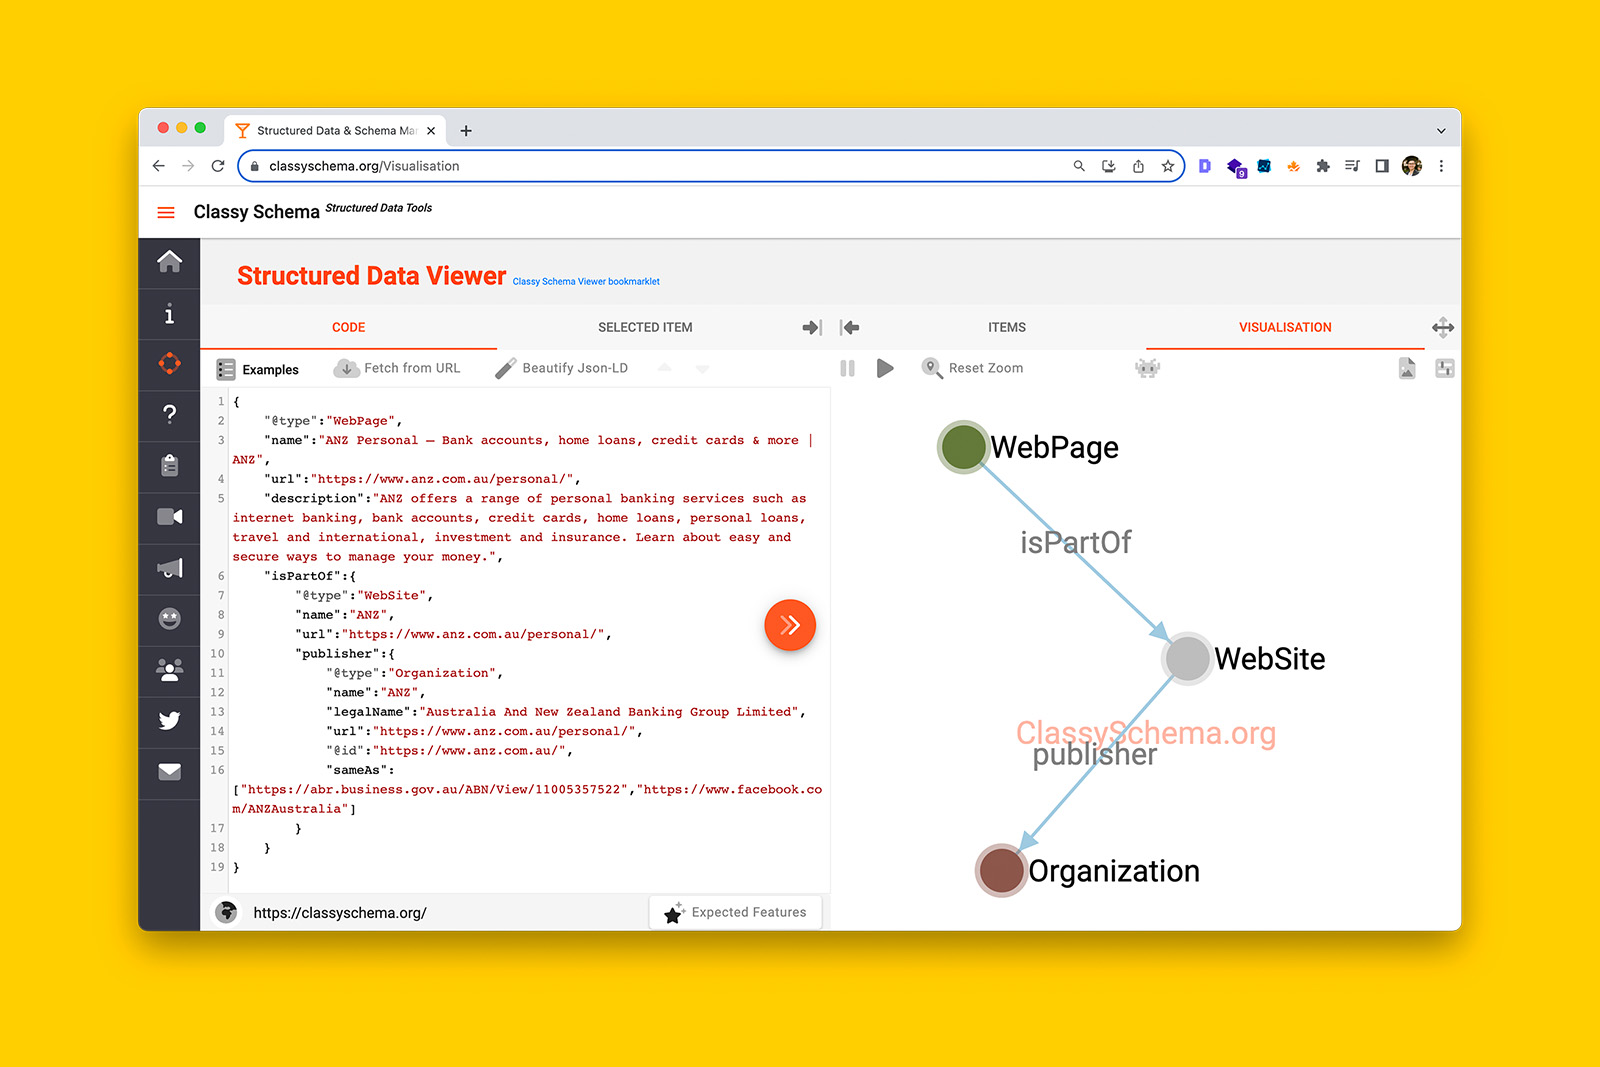
And when you copy and paste what you have written so far into schema.org validator tool and ClassySchema’s visualizaiton tool, you will see how machines understand the relationships you have defined in the above 14 steps.
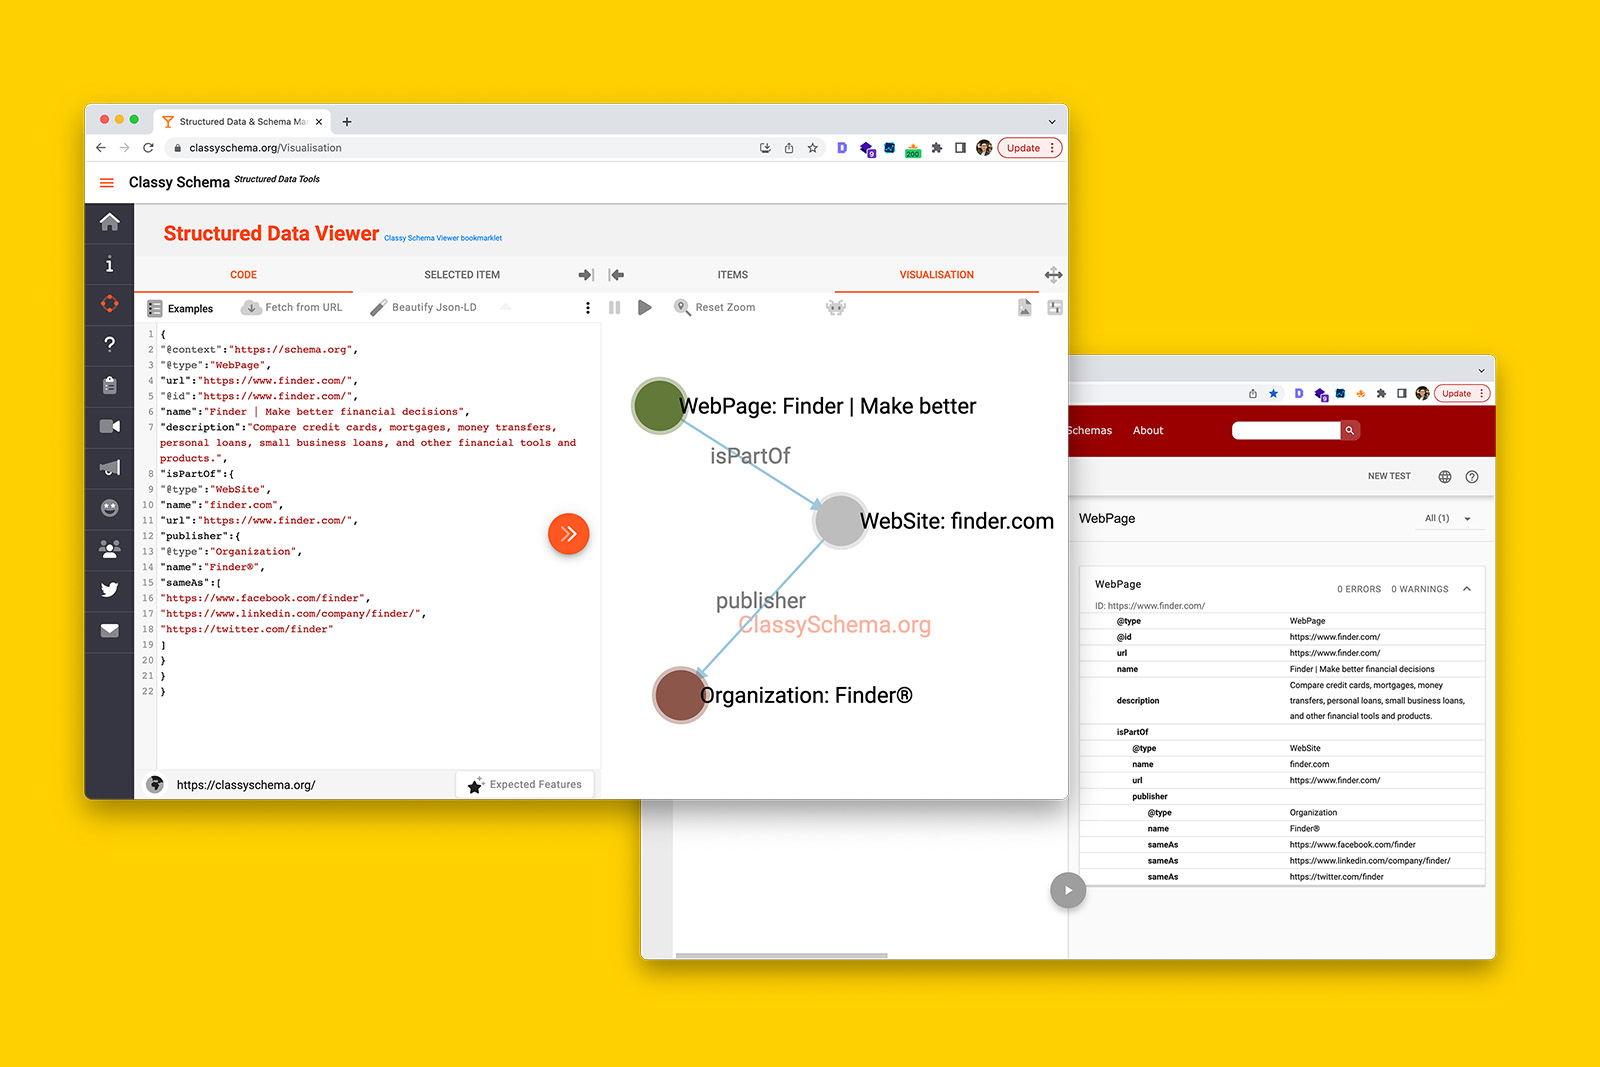
That is, the 3 circles represent the 3 entities you have marked up:
- WebPage (the homepage)
- WebSite (the entire finder.com website), and
- Organization (Finder®).
More importantly, the lines between the circles and the grey text demonstrate the relationship between these 3 entities.
That is, the homepage is part of a website where the website is owned by a company called Finder®.
See?
It wasn’t so hard was it?
You’ve successfully written 22 lines of code!
A few (annoying) JSON-LD rules you should know
Here are a few rules you should keep in mind when writing JSON-LD from scratch.
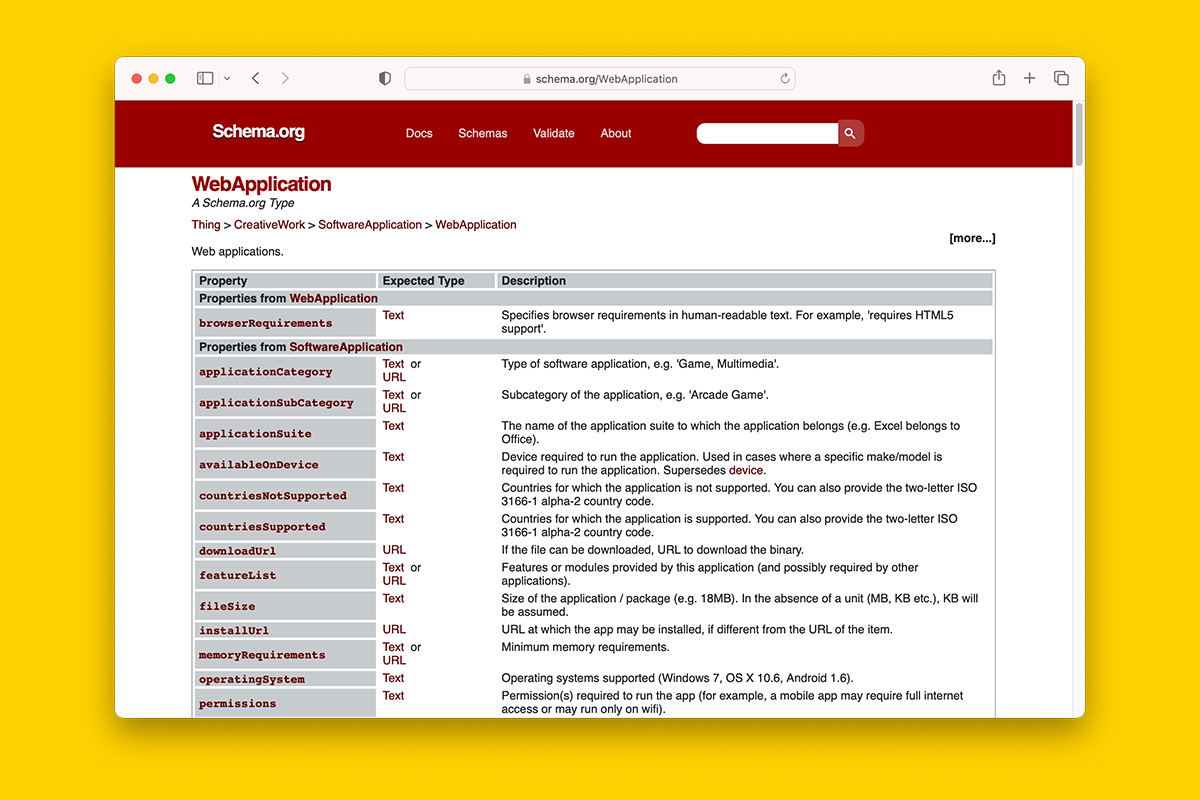
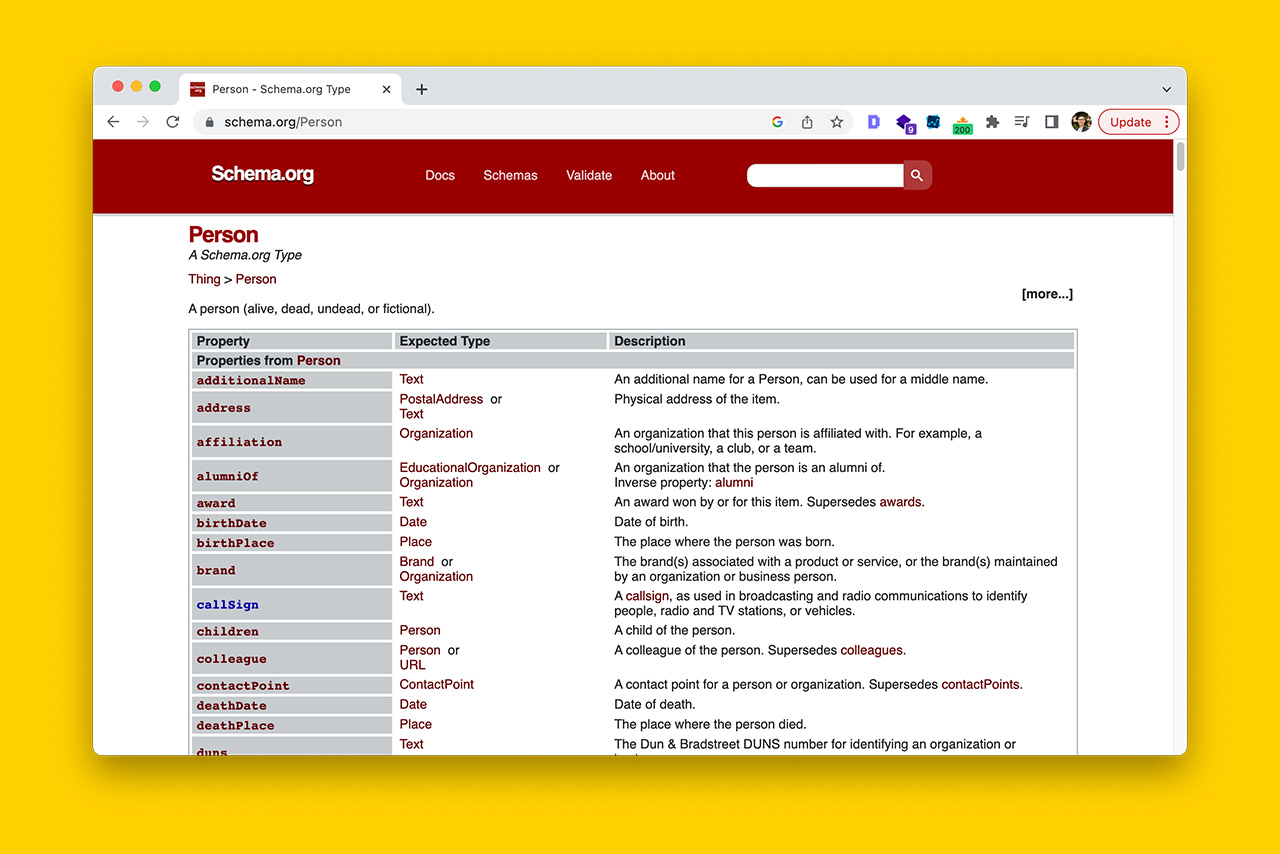
- Not all item properties apply to all schema Types, refer to schema.org documentation for item properties you may use.
- Item properties such as alumniOf, postalAddress, and isPartOf must use camel case (e.g., thisIsCamelCase).
- Schema.org Types such as Person, OnlineBusiness, BlogPosting and AggregateOffer must follow Pascal case (e.g., ThisIsPascalCase).
- Curly brackets (or braces) are used to wrap an object.
- You can have multiple curly braces within a pair of curly braces (just as you can have multiple parentheses in mathematics).
- Square brackets are used to wrap multiple values within a single object. That is, you use square brackets instead of curly braces when there are multiple values for an item property (e.g., social media profile URLs for the sameAs property).
- Every value must end with a comma, except for the last value. This is the number one reason why your schema is broken.
- Double quotation marks, specifically, double straight quotation marks are used for strings such as item properties, values, and @type properties. Strings must always be wrapped in double quotes.
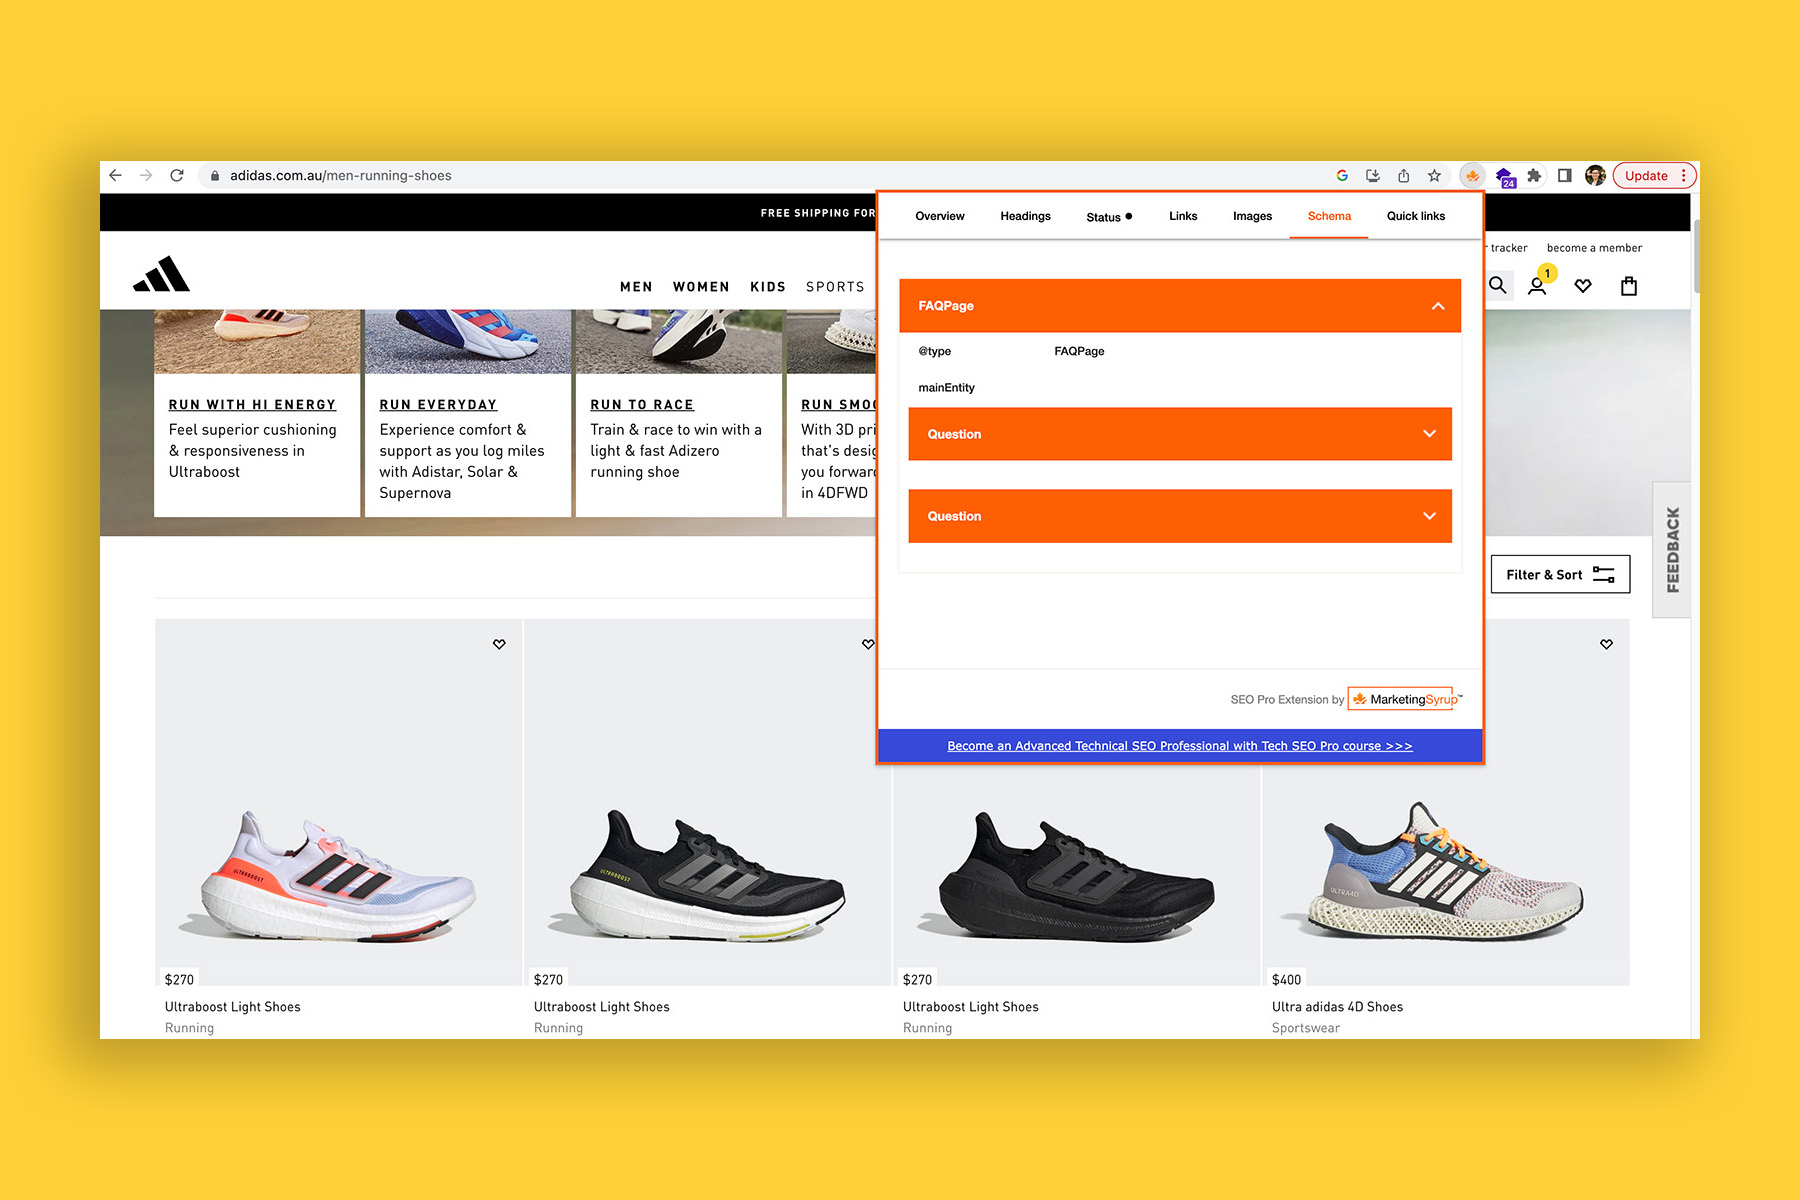
"itemProperty":"value"- In FAQPage JSON-LD, you can use the a href attribute to trigger a hyperlink in the rich result but you will need to escape the double quotation marks so that parsers don’t get confused as to why the string syntax is broken.
"text": "If your bank allows you to open multiple <a href=\\\"https://www.commbank.com.au/home-loans/interest-offset.html\\\">offset accounts</a>, you may choose to allocate one account towards your bills and committed expenses, another towards your everyday spending, and so on. Some banks charge fees for offset accounts or have limits on how many you can open, so always check the terms and conditions before opening one."- Google does not crawl node identifiers from other URLs, therefore, even though you can reference a node identify from another page (.e.g., Person schema), Google won’t recognize it. As such, you will need to repeat the JSON-LD code on the page that you’re marking up.
Special thanks and mentions
A number of people and resources played an integral part in my learning of JSON-LD.
They include:
- ‘A Guide to JSON-LD for Beginners’ by Alexis Sanders, published on Moz
- ‘Writing JSON-LD structured data: A beginners guide for SEOs’ by Scarlett Pirie
- Jarno van Driel
- Dave Ojeda
- Iky Tai
What’s next?
- Watch me write JSON-LD live 😅 on my YouTube channel Scheming Schemas, for example:
- See how I use Person schema to describe a specific psychologist
- Watch me unsuccessfully try to connect automated schema from Yoast with manual JSON-LD
- Read the next guide in this series on how to implement what you’ve learnt here – ‘How to do semantic SEO using nothing but JSON-LD and schema.org vocabulary (in 6 steps)’
- See all the resources I’ve published on semantic SEO.